
What if you could create a lead magnet that not only attracts your ideal audience but actually converts them – all without spending days working on it?
In just 90 minutes, you can have a high-value checklist ready to go.
I’ve broken the process down into three simple steps, covering everything from brainstorming ideas to designing your checklist and promoting it effectively.
Plus, I’ve included real examples and tips to make the creative process even easier.
Start by choosing a topic that solves a small but pressing problem your audience faces.
It doesn’t need to be comprehensive, but it must be actionable and provide quick results.
A checklist, a cheat sheet, or a short guide works best here because they offer immediate value and are easy to consume.
The key is to focus on one problem and one solution.
Narrowing it down helps you deliver a clear promise, which in turn boosts conversions.
If you need help coming up with your lead magnet and need ideas, read my post that lists several effective lead magnet ideas, all perfect for busy solopreneurs on a budget.
Step 1. Pick the theme or subject
For a checklist, don’t try and create one for a whole subject. For example think “Portfolio About Page Essentials Checklist” instead of “Website Best Practices Checklist” as the latter is way too broad of a subject and could go on for pages and pages.
So think about what would be easiest for your audience to digest.
Here’s a few examples to help inspire you:
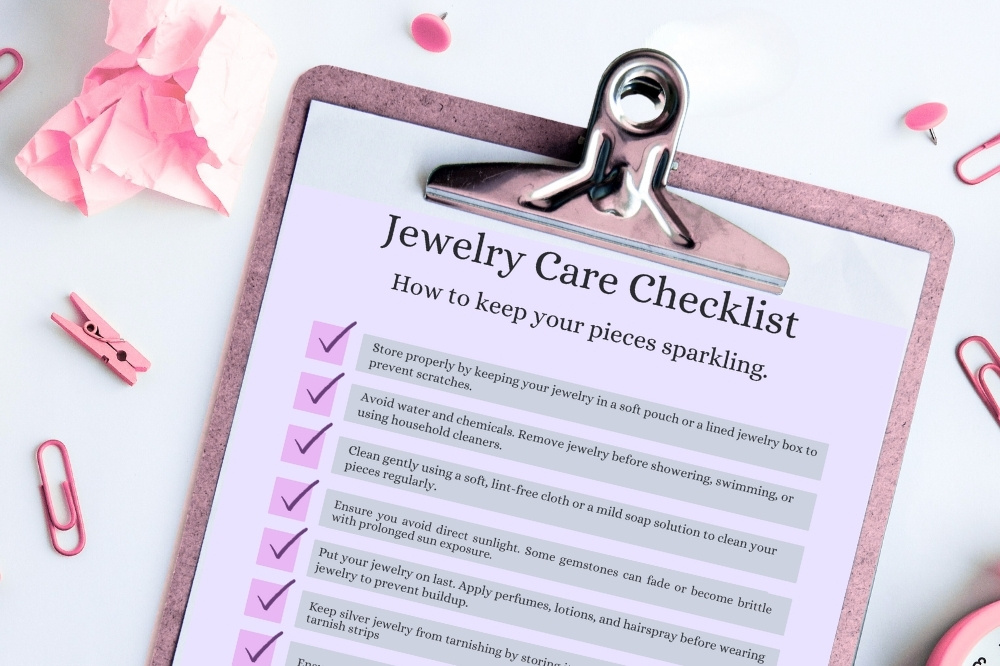
Jewelry Store Owner: “Jewelry Care Checklist: How to Keep Your Pieces Sparkling”
Career Coach: “Your Job Interview Success Checklist: What to Do Before, During & After”
Wedding Planner: “Bride & Bridesmaids Hair, Attire & Accessories Checklist: So Everyone Looks & Feels Amazing”
Life Coach: “Your Daily Mindset Reset Checklist for a Positive & Productive Day”
Once you’ve picked your topic, decide on the format.
PDFs are usually the easiest format to create and distribute and they’re easy to create in Canva. Although Google Docs is also another good option.
Step 2. Produce the content
Now, outline the content. Start by writing down the main problem you’re addressing and the steps your audience needs to take to solve it.
Keep the outline tight. As you’re creating a checklist, simply list out the steps in a logical order.
Keep in mind, you really don’t need to get into too much detail.
The goal is to give enough value that the audience feels they’ve learned something, but leave them wanting more (ie your service or solution). This will help drive sales later on when you promote your products or services to them.
It can be tempting to think you need to include lots of info within the checklist, but try not to bury the reader in information.
You’re not writing a long report or an in-depth article. Instead, you’re aiming to provide a fast solution that they can implement right away.
Each section should get to the point without fluff.
For example, if your lead magnet is a checklist for caring for fine jewelry, jump straight to the key tips like, “Store in a soft pouch or lined box to prevent scratches” or “Avoid contact with water and chemicals.”
Step 3. Design your lead magnet
Next, design the lead magnet.
This doesn’t have to take a lot of time, but presentation matters. You want it to look professional, even if it’s simple.
For a head start pick one of our lead magnet Canva templates, which have pre-designed templates for checklists, cheat sheets, and guides.
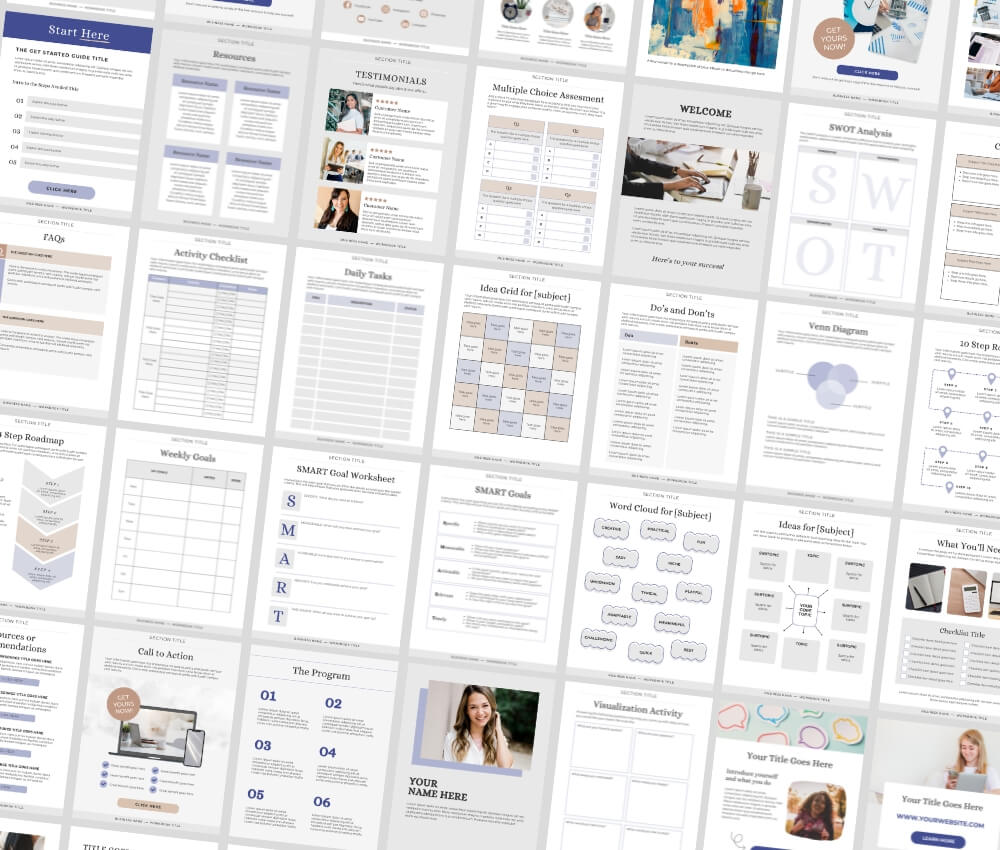
Choose a clean, easy-to-read layout. Stick to one or two colors that match your brand.
Make sure there’s plenty of white space to keep the design from feeling cluttered.
You can include your logo and a clear title at the top. The title should be benefit-driven and specific. For example, “10 Steps to Boost Your SEO in a Week” works better than “SEO Tips.”
Make sure your call-to-action is clear. At the end of the lead magnet, include a simple next step for the reader. This could be an invitation to book a free consultation, a link to a deeper resource, or a discount code for a product.
Whatever it is, make it obvious. Don’t just deliver value and walk away. Tie it back to your business and offer them a reason to stay connected.
You can also include social media handles or an email address if they have questions.
Now that your lead magnet is complete, the next step is to get it ready to share with your audience!
Start by setting up a simple landing page that highlights the main benefit of your freebie and includes an opt-in form.
Step 1: Create Your Landing Page
Your landing page should clearly communicate the value of your lead magnet. Use a compelling headline that tells visitors exactly what they’ll gain.
For example, “Boost Your Website’s SEO in Just One Week – Download This Free Checklist!”
Below the headline, add a brief description explaining how your freebie helps solve their problem. Keep it short and persuasive.
Step 2: Set Up the Opt-In Form
Create a simple form in your email provider that collects only the essentials (name + email).
Embed the form on your landing page.
Set up an automated email to deliver the lead magnet once they’ve sign up.
If your freebie is a PDF or zipped file, it’s best to host it on a third-party platform like Google Drive, Dropbox, or Amazon WorkDocs, then include the download link in your email.
Step 3: Promote Your Lead Magnet
Once your landing page is live, it’s time to promote the heck out of it!
Email Your List: Send a short, engaging email announcing your freebie. Emphasize the value and how it helps them. Use the same benefit-driven language as your landing page to maintain consistency.
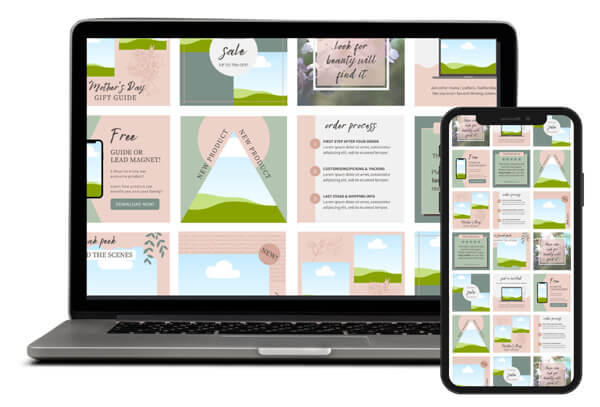
Share on Social Media: Post about your lead magnet using an eye-catching mockup of the cover or first page. Images like these help grab attention and encourage sign-ups.
Pro Tip: You can use my digital product mockup templates to create polished, professional graphics for your checklists and other freebies!
Share to…

Sign up to get 10 free Canva templates for your social media.
Created with solopreneurs in mind, these templates offer a variety of content types to help boost your online presence!